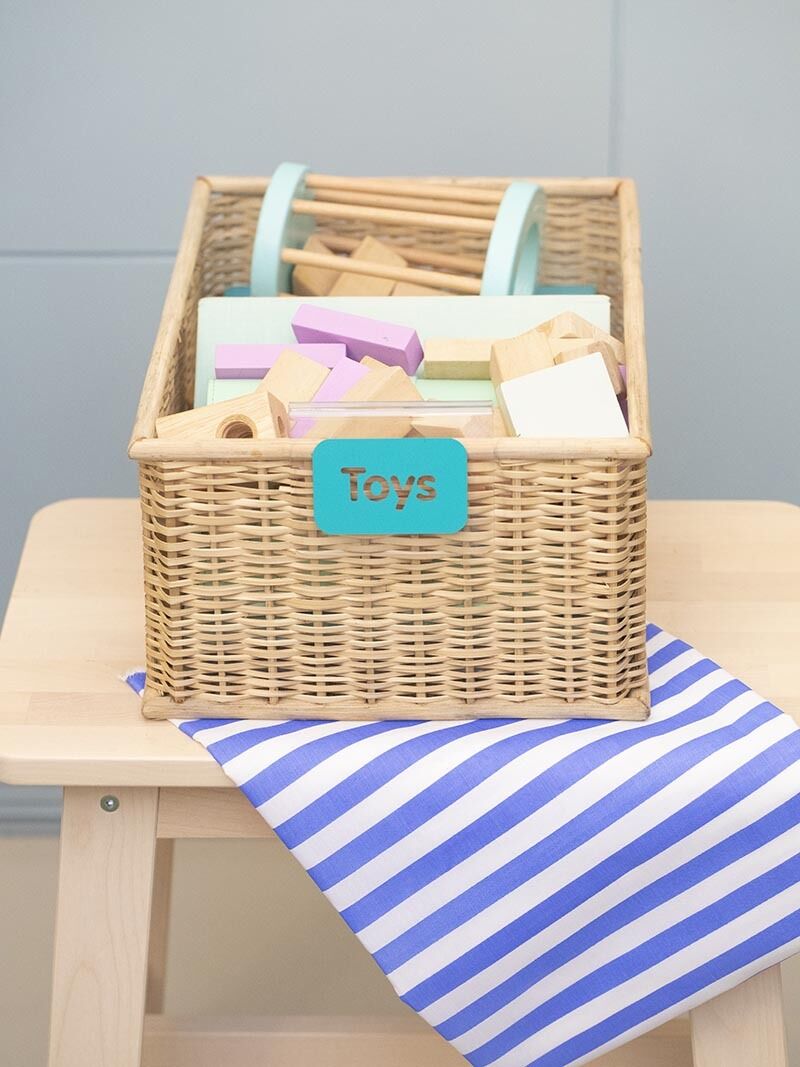
ICYMI, we’ve been cleaning and organizing at the Googly HQ. (Should we do a tour sometime?) It’s been a long process and we’re still in the middle of painting our walls while finishing projects and organizing our supplies into these baskets that we DIYed with pompoms and vinyl stickers using our Cricut machine! Scroll down for the full tutorial.

Table of Contents
Table of Contents
Tools and Materials
- woven baskets
- scissors
- yarn
DIY Basket with Pompoms
Step 1: Use a fork or a piece of cardboard as your pompom template. Your fingers work too but this is a tried and tested trick among crafters! If you have one, a pompom maker is also quite handy.
Step 2: Take a piece of yarn and place it in middle of the fork.
Step 3: Wrap the yarn around the fork 50 times. You can also do less or more depending on how fluffy you want them to be.
Step 4: Tie the piece of yarn earlier tightly in the middle.
(Tip: Need a more in-depth tutorial about pompom making? Click here to read our post about it.)
Step 5: Tie or glue your pompoms into your baskets and we now have a fun and tactile organizer that’s also cute to look at while hiding our mess *wink*.


Tools and Materials
acrylic labels
waterproof vinyl sticker sheets
scissors
Cricut Maker or Cricut Explore Air 2 or Cricut Joy
Cricut Premium Fine Point Blade
Cricut Standard Grip Mat (Green) or Cricut Light Grip Mat (Blue)
Cricut Weeder Tool (optional)
Cricut Scraper and Spatula (optional)
(Tip: These woven baskets already come with an acrylic label + an alphabet vinyl sticker set in case you don’t have a cutting machine.)

DIY Baskets with Acrylic Label & Vinyl Stickers
Step 1: Create a new project on Cricut Design Space. Type out your labels using the text tool. (Tip: You may use all the fonts available on your computer!) You may also upload an svg or png cut file if you have one.

Step 2: Install the Cricut Premium Fine Point Blade on your Cricut Explore Air 2 or Maker
. This blade is compatible with both machines. You may also use the Cricut Joy and its accompanying blade.
Step 3: Cut your waterproof vinyl sticker sheet to fit your chosen mat, which comes in 12×12 inch and 12×24 inches. We recommend the Cricut Standard Grip Cutting Mat (green) or the Cricut Light Grip Cutting Mat (blue).
Step 4: Attach the vinyl to your mat. You may also use a Cricut Brayer for this if you have one. It helps remove any bubbles and flatten out your vinyl stickers well.

Step 5: Under the “materials” tab, choose the appropriate vinyl setting. In our case, we used “premium outdoor vinyl”. Depending on the thickness of your material, you may have to adjust the pressure and passes. Remember to test cut first so you don’t waste your materials!

Step 6: Click the flashing go button (cricut logo) and let the machine create your stickers for you.
Step 7: When the cut is complete, unload the mat and weed out the design. You can do this with your hands or if available, a Cricut Weeder. Remove the negative space. These are the excess areas that are not part of your design.
Step 8: This is totally optional but you may use a vinyl transfer tape to help you lift the design and attach them to your acrylic labels. This will be so helpful if you’ll be making text labels (for consistent spacing) and intricate designs on vinyl.

Step 9: Place your acrlic labels on your baskets and voila! Something to help us find our stuff more quickly!
Feel free to add decorative vinyl decals too if you want just like these ones we did on our soap bottle diy.


These woven baskets already come with an acrylic label + an alphabet vinyl sticker set in case you don’t have a cutting machine.

If you decide to make these DIY baskets, feel free to show us! We’d love to see what you make. You can find and tag us on our various social channels:
Facebook, Youtube, Twitter, Tiktok and Instagram. Looking for more arts and crafts ideas and free printables? Check out our other blog posts for more printables, and crafting resources. Got any Cricut related questions? Check out our Cricut Basics: Blades, Mats and Machine Differences post or see our other Cricut Projects here.


